How to Set Up a Drip Irrigation System: Step-by-Step Installation Guide
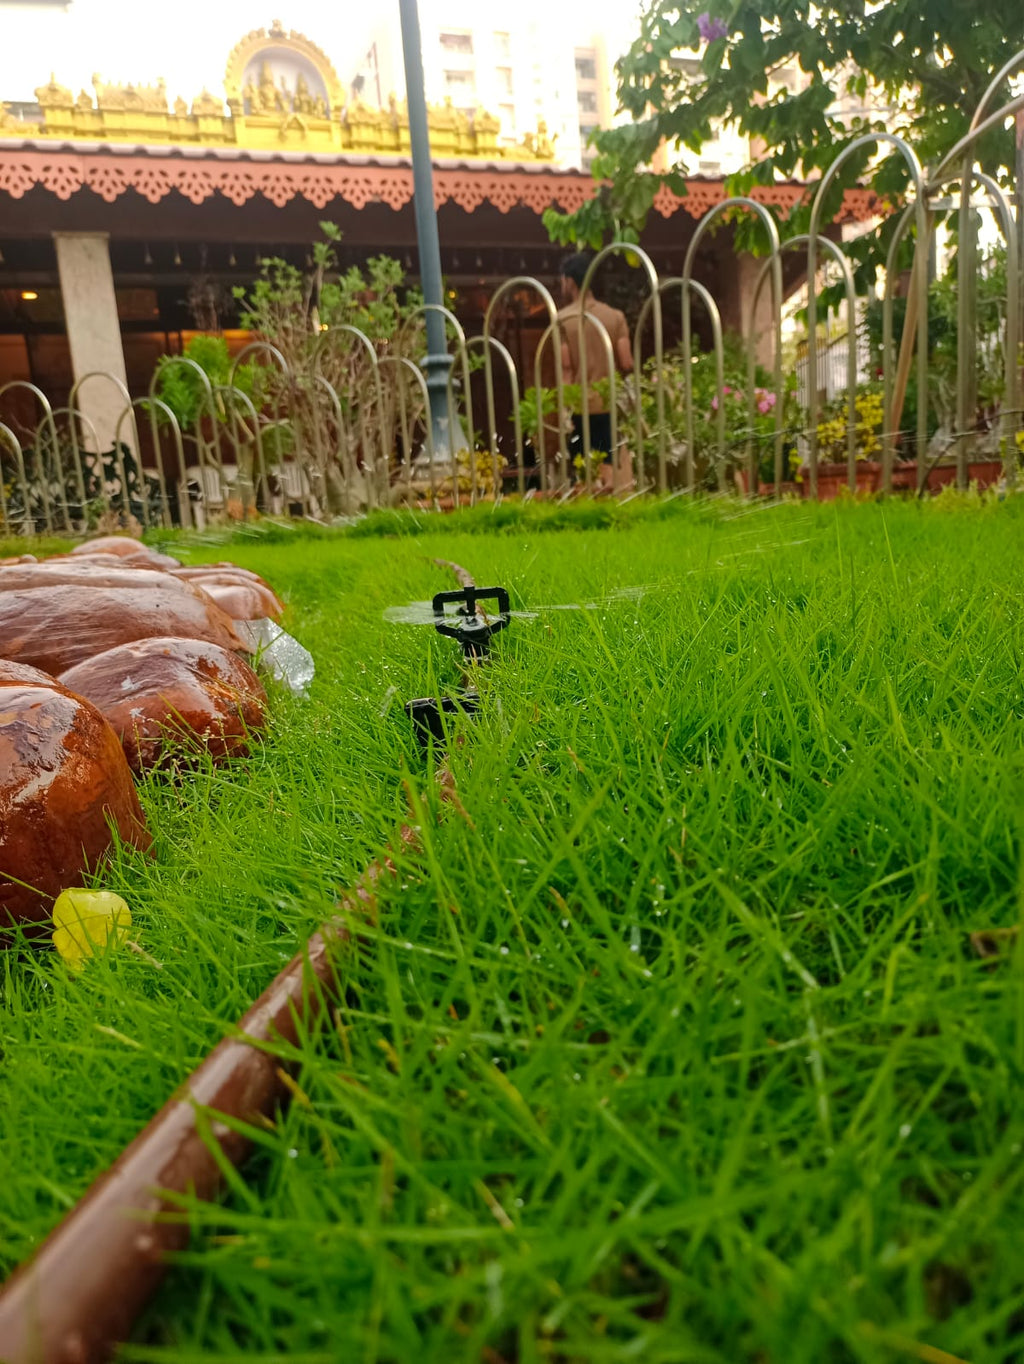
A drip irrigation system can cut your water use by up to 50% and significantly improve crop yield — but only if it's installed correctly. A poorly designed system leads to uneven watering, clogged emitters, and pressure problems that are frustrating to diagnose after the fact.
This step-by-step guide walks you through the entire installation process, from planning your layout to running your first irrigation cycle.
What You'll Need
- Water source (borewell, canal, or tank) with a pump
- Mainline uPVC pipe (IS 4985 certified)
- Sub-main and lateral drip tubing
- Inline drip emitters or drip tape
- Drip polyfittings (connectors, end caps, offtakes)
- Water filter (sand + screen filter recommended)
- Pressure gauge and pressure regulator
- Optional: Automation controller
Step 1: Plan Your Layout
Before buying anything, sketch your field or garden to scale. Mark:
- Water source location
- Crop rows and spacing
- Mainline route (shortest path from source to field)
- Sub-main branches
- Lateral row positions
Key design rules:
- Keep mainline runs under 200 m where possible to limit pressure loss
- Sub-mains should run perpendicular to crop rows
- Laterals run along each crop row
Step 2: Size Your System
Calculate your total flow requirement:
- Count the number of emitters (one per plant, or one per 30–50 cm for drip tape)
- Multiply by emitter flow rate (typically 2–4 litres/hour)
- This gives your total system flow in litres/hour
Select a pump that delivers this flow at your required operating pressure (typically 1–1.5 bar for drip).
Step 3: Install the Filtration Unit
This is the most skipped step — and the most costly mistake. Drip emitters clog easily with sediment, algae, and mineral deposits. A proper filtration setup includes:
- Sand/media filter — removes organic matter and fine sediment (essential for borewell water)
- Screen filter — secondary filter, 120–200 mesh, before the mainline
- Fertigation tank — optional, for injecting fertiliser
Install filters immediately after the pump, before any pipe runs. Browse our water filters sized for small garden to large farm applications.
Step 4: Lay the Mainline
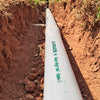
- Trench and bury uPVC mainline 30–45 cm deep to protect from UV and physical damage
- Use solvent-welded fittings at all joints
- Install a pressure gauge at the start of the mainline and at the end of each sub-main zone
Step 5: Connect Sub-Mains and Laterals
- Use offtake fittings (saddle clamps or tee connectors) to branch sub-mains from the mainline
- Run LDPE lateral tubing along each crop row
- Punch emitter holes using a punch tool at each plant position
- Insert inline emitters or connect drip tape depending on your crop spacing
All fittings should be from our drip polyfittings range — compression-fit, no tools required, field-repairable.
Step 6: Flush and Test
Before capping the ends:
- Open all lateral ends and run the pump for 5 minutes to flush debris
- Cap the ends with end plugs
- Check pressure at the start and end of each lateral — the difference should be less than 20%
- Walk the field and inspect every emitter for flow
Step 7: Automate (Optional but Recommended)
Manual irrigation is labour-intensive and inconsistent. A basic automation controller lets you:
- Set irrigation schedules by zone
- Control multiple valves independently
- Integrate soil moisture sensors for demand-based irrigation
Even a simple timer pays for itself in water savings and reduced labour within one season.
Maintenance Checklist
- Weekly: Check filter pressure differential; clean screen filter if pressure drop exceeds 0.3 bar
- Monthly: Flush laterals; inspect emitters for clogging
- Seasonally: Acid-flush the system (dilute HCl or citric acid) to dissolve mineral deposits
- Annually: Inspect mainline joints and replace damaged laterals
Conclusion
A well-installed drip system is one of the best investments you can make in your farm or garden — it pays back in water savings, fertiliser efficiency, and yield improvement season after season. The key is getting the design, filtration, and pressure management right from day one.
→ Shop complete drip irrigation systems | Browse drip fittings and accessories
-
Posted in
drip irrigation, how-to, installation guide, irrigation setup, step-by-step